We use cookies to make your experience better. By continuing your visit on the website, you consent to the use of the cookies. Learn More.


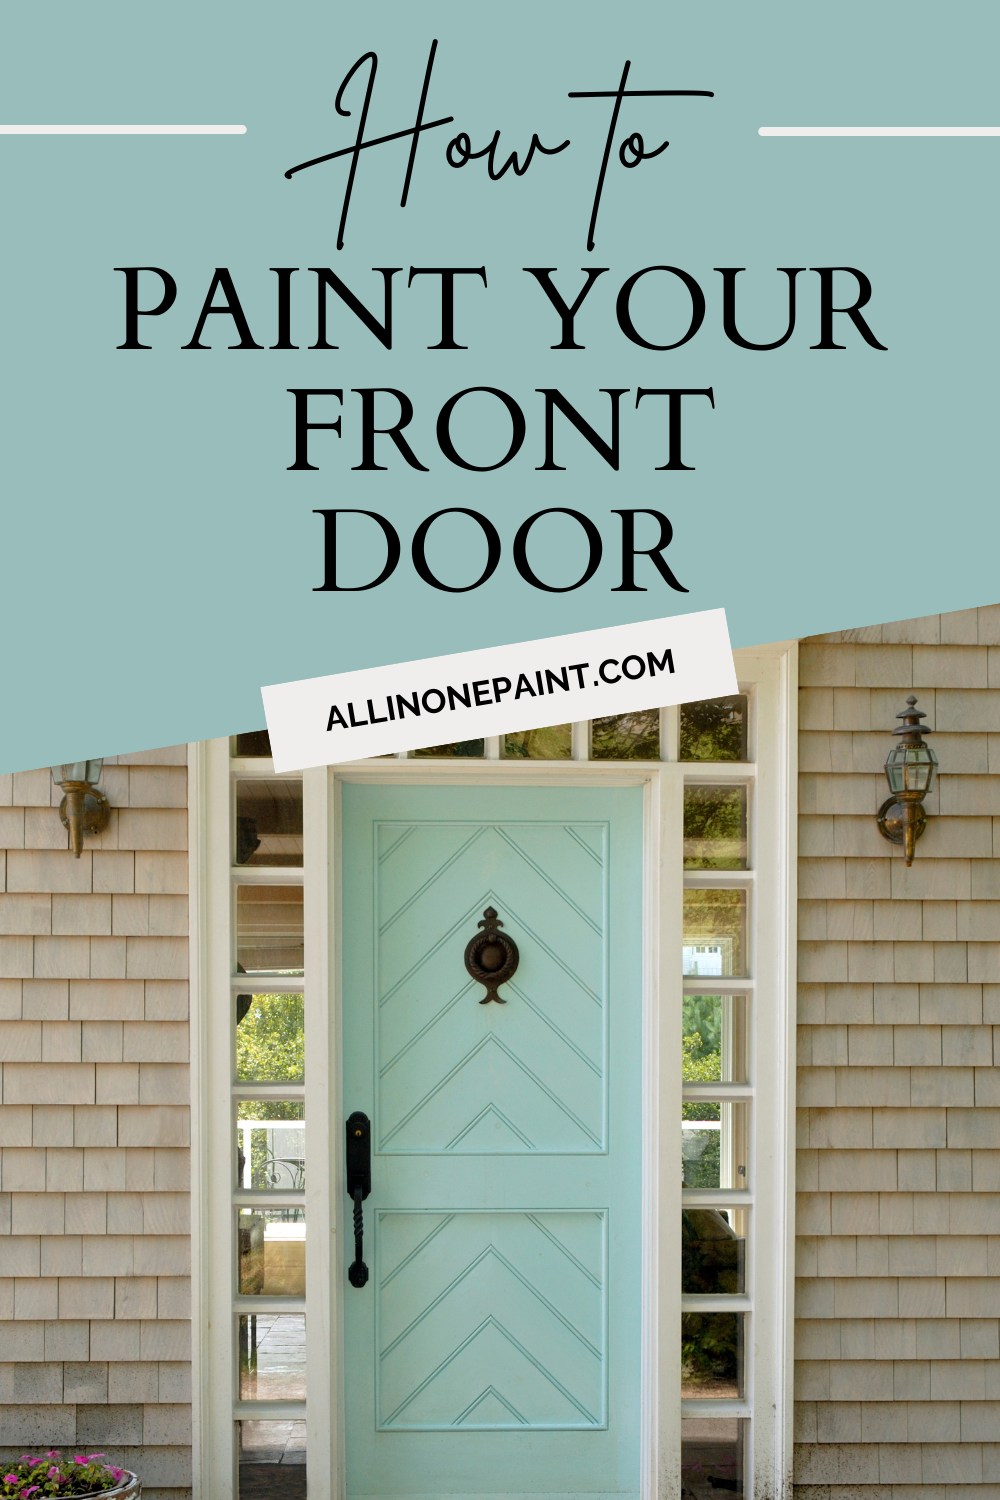
How To Paint Your Front Door Without Sanding!
June 1, 2022
melissa_htpadmin
melissa_htpadmin
3
4
3
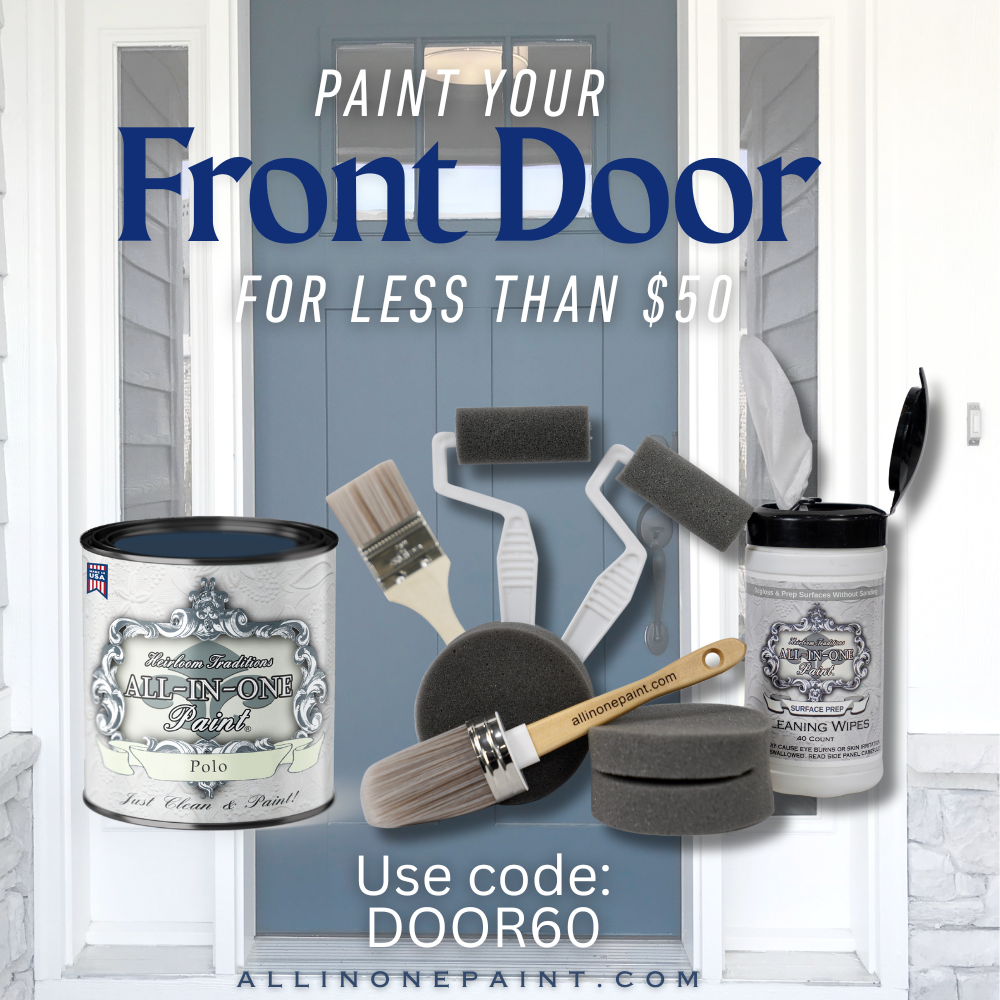
Here's my best tips for painting your front door without SANDING! Need help choosing the best front door color for your home? Post a pic here and ask our Painter's Community for help or check out our Hey Paula! Help Me with my DIY Projects Podcast Episode 6 https://rss.com/podcasts/allinonepaint/491177/ 1. Order the items below which will give you everything you need to paint an average front door. If you're painting side lights, you'll need a second sample. 2. Choose to paint on a day when you'll have several days of good, sunny weather. Ideal painting temperatures are 60-80 degrees. If you're painting in hotter seasons, its best to paint at the lowest temp of the day, which is typically early morning or evening. If your door is extremely hot to the touch, spray it down with cold water from your water hose and allow it to dry thoroughly. 3. Prep your area. You'll want a drop cloth, cardboard or a plastic trashbag (that's what I used) under your door to protect your floor. I love to hang up a plastic drop cloth on the outside of my door opening using painter's tape. This keeps the AC in (because I'm painting with the door open) and the bugs out of my house and off of my wet paint. 4. Prep your door. A) If you're going to take your handles off, do that now. But be aware that they don't always go back on so easily. I'll be trimming mine out using a DETAIL BRUSH that comes in the shopping list below. If you have a kickplate, I'd remove that as well. That part is easy! B) Clean your door well with our SURFACE PREP DEGLOSSER. Brush it on using the CHIP BRUSH in tool bundle below. Then scrub it with a green scouring pad from your kitchen and wipe it down with a dry cloth (I use terry cloth towels but an old t-shirt will do the trick as well). Do not get surface prep on your glass if your door has glass. Wrap your towel around your finger, dip it in the surface prep and wipe down the trin around your glass. When your door is thoroughly cleaned, you should feel some resistance or drag on your hand. You likely won't see a visual difference in the door and that is okay. If you feel the resistance, you're ready to paint. 5. Stir your paint well. Paint your door using Brush & Roll Technique. Allow paint to dry thoroughly to the touch (typically 30-60 mins). Paint the 2nd coat if necessary (most of the time, you will need 2 coats). A) Trim out around the handles and or trim around glass using detail brushes. 6. Your door should be ready to close once dry (approx 60 mins after final coat).
ADDITIONAL TIPS:
I like to leave my plastic up overnight. That way if there's a heavy dew or a popup shower overnight, it won't wet my freshly painted door. I remove in the morning and let the sun start fast curing the paint.
WHAT TO DO IF YOU HAVE LOOSE OR PEELING PAINT:
If your previous finish has some areas that are peeling, chipped, cracked or loose, new paint will not glue that backdown or prevent it from continuing to fail. In that instance, you will have to sand away the loose and get a smooth finish. If necessary, you can fill cracks with paintable wood filler or a Mohawk 2-part epoxy stick. Then you'll start with your prep, Step 4.
WHAT TYPES OF DOORS CAN YOU PAINT
All of them! ALL-IN-ONE Paint works on all types of front doors including wood, steel, storm doors, etc. If its a door, ALL-IN-ONE Paint can paint it with great results!
DO I NEED A SEALER SINCE THIS IS EXTERIOR:
You do not! ALL-IN-ONE Paint is an exterior grade paint so no sealer is required. Just Clean & Paint!
Let me know in the comments what color you're painting yours and ask any questions that I haven't covered. I'm happy to help!
Materials Used
Qty
Total Cost: $123.90